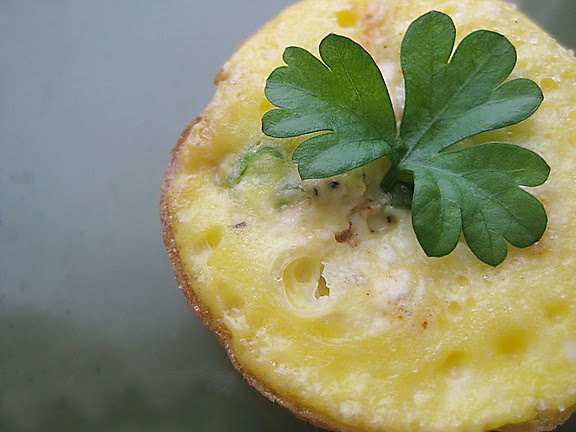
The significance of these mini egg “muffins” or mini egg cups lies in the fact that these are the very first food from which I have ever made profits. First, some background information …
When I was in elementary school, my cousins and I often played the so-called “Country Game.” It was not a game wherein somebody wins and somebody loses as much as it was a way for us kids to pass boring weekend afternoons. What we did was form a mock country with a government and a group of private citizens.
Our currency was the seashells we had gathered from past family trips to the beach. Two of my cousins were appointed the prime minister and the deputy prime minister who promulgated and enforced the law. (They didn’t do anything to earn the executive power; they just happened to be in 6th grade when most of us were in 2nd or 3rd grades.) We even paid taxes to the 2-person government who also made sure tax evaders go to jail (dark storage room behind the garage). It was the most real fake country you’ve ever heard of.
Here’s the fun part. In order to earn a living, each private citizen would search for junk around the house, including lawn and garden trimmings, to turn into marketable commodities: fresh produce, all sorts of knick-knacks, and, of course, fake edibles. It’s amazing how creative you get when garage junk is the only thing available to you. I had so much fun recycling stuff that I didn’t mind the tyrannical government or a group of citizens who looted the garage and sold for exorbitant profits things which should have been available for all at no costs.
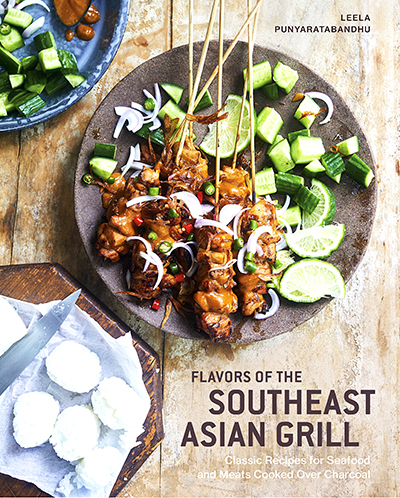
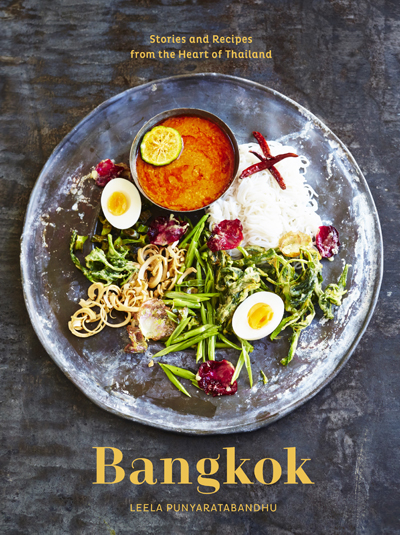
In the beginning, we would limit ourselves to things which had clearly been marked as tossers. I had my semi-fake food stand which I co-owned with an older cousin who knew how to operate an electric portable stove. The task involved turning leftover rice porridge into little sweet rice cakes resembling a well-known traditional Thai coconut-rice cakes, khanom khrok (added 11-08-20: my recipe for the classic version is in my Bangkok cookbook), using an old, chipped terracotta khanom khrok pan which I’d found in the garage. Though these cakes were made out of edible ingredients, they weren’t exactly made for the purpose of pleasurable consumption (our dog, who would eat anything, gave them a sniff and walked away); they were just for play.
As more and more seashells entered the economy (our government was very good at increasing the number of seashells in circulation without us knowing where they came from), our little mock kingdom became more and more interesting. We started incorporating non-junk items into the market to increase the attractiveness of the products.
A cousin started reselling treats from her mother’s pantry which prompted me to adopt a similar strategy. I started smuggling fresh eggs from the kitchen in order to come up with more attractive egg khanom khrok which was much more delicious than the baked rice goo we’d served. The egg cups were very good even though they were made out of nothing but plain beaten eggs with fish sauce and cracked white pepper added to them and chopped green onions on top of them. They were a hit weekend after weekend.
Looking back, I can see now how our made-believe independent state represented a microcosm of the real system. In terms of business, we got all sorts of trickery, gimmicks, abuse of power, abuse of the law, “under-the-table” transactions, generation of false rumors or half-truths to undermine the market’s confidence in a competitor’s product, etc. There might have been some money laundering as well, though I wasn’t sure.
In terms of politics, we even had a small group of separatists who got sick of the ever-changing constitution and the over taxing of the working class and threatened to form their own country independent of our oppressive government.
When things got uglier, there were even talks about bringing the matters to the UN Council, i.e., our grandfather, who, mind you, had no clue all this was going on.
 Yet, in the midst of coup rumors and unstable economy, my egg cup business was thriving. As it turned out, regardless of their political leaning, all citizens loved little egg cups with crusty bottoms and custardy interior.
I was happy collecting seashells until a competitor, under the guise of a well-meaning customer, suggested I replace the green onions with one particular “herb” from our greenhouse in order to create a different flavor variation. Naïve, I agreed that was a good idea and proceeded accordingly.
Turned out, the leafy “herb” happened to be a very rare and expensive plant in the lily family which the UN Council had planted and groomed for an upcoming annual botanical competition—a much, much anticipated event. Long story short, when the news reached the UN, the UN was beyond furious.
Fortunately, I was at school when it was discovered that the plant had been uprooted and chopped up. So by the time I had to give my account to the UN, the (justified) fury had dissipated somewhat. Yet, when all of us had to appear before the Tribunal, it took every trick in the book to save our little behinds. No capital punishment was administered, but our little country suddenly and irrevocably lost its sovereignty. It had disappeared from the map since then.
It was fun while it lasted.
Goat Cheese-Thyme Egg Mini Muffins in Honor of Childhood Mischief
Makes 24 mini egg muffins using the Ebelskiver pan)
Printable Version

One dozen large eggs
4 ounces goat cheese, crumbled
1 teaspoon of Hungarian sweet paprika
1/2 teaspoon dried thyme or 2 teaspoon fresh thyme
1 green onion, finely chopped
1 1/2 teaspoons salt
A few cracks of black pepper
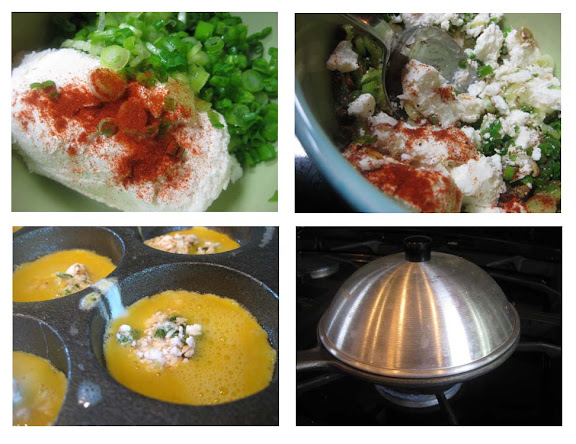
- Set the Ebelskiver pan on the stovetop over medium low heat. Spray the cups to keep the egg mixture from sticking to the pan.
- In a bowl, mix together the goat cheese, paprika, and thyme; set aside.
- Beat the eggs together with the salt and pepper. Fill each cup half full.
- Spoon 2 teaspoonfuls of the cheese mixture into the egg-filled cups.
- Fill the cups almost to the brim with more egg mixture.
- Cover with a pot lid and continue to cook for another 2-3 minutes.
- Remove the egg muffins from the cups and repeat the process until both the egg and cheese mixtures are gone.
Variations: Consider adding one of the following add-ins to the egg mixture: chopped ham, pre-crisped bacon or pancetta bits, finely chopped roasted red pepper, finely chopped black olives, finely chopped marinated artichoke hearts, chopped sun-dried tomatoes and fresh basil, prepared pesto.


